
Spring Boot入门
2019-02-21 06:39:02来源:博客园 阅读 ()

Spring 框架可以说是 Java 开发人员使用的最流行的应用程序开发框架之一。它目前由大量提供一系列服务的模块组成。包括模块容器,为构建横切关注点提供支持的面向切面编程(AOP),安全框架,数据存取框架,Web 应用框架和用于模块测试提供支持的类。Spring 框架的所有组件都通过依赖注入粘在一起。依赖注入(也称为控制反转)使设计和测试松散耦合的软件模块变得更容易。
多年来 Spring 框架已变得足够成熟。几乎所有 Java 企业应用需要用到的基础组件都可以在 Spring 框架中找到。但在一个新应用中将所有需要的 Spring 组件整合并配置好并不容易。这包括在 gradle/maven 中设置依赖库,使用 xml、注解或 java 代码配置需要的 Spring Bean。Spring 开发者意识到这里的绝大多数工作是可以可以自动化的,Spring Boot 出现了!
一.Spring Boot简介
概述
1.Spring boot是Spring家族中的一个全新的框架,它用来简化Spring应用程序的创建和开发过程,也可以说Spring boot能简化我们之前采用SpringMVC+Spring+Mybatis框架进行开发的过程。
2.在以往我们采用SpringMVC+Spring+Mybatis框架进行开发的时候,搭建和整合三大框架,我们需要做很好工作,比如配置web.xml,配置Spring,配置Mybatis,并将它们整合在一起等等,而Spring boot框架对此开发过程进行了革命性的颠覆,抛弃了繁琐的xml配置过程,采用大量的默认配置简化我们的开发过程。
3.所以采用Spring boot可以非常容易和快速的创建基于Spring框架的应用程序,它让编码变简单了,配置变简单了,部署变简单了,监控也变简单了。
4.正因为Spring boot它化繁为简,让开发变得极其简单和快捷,所以在业界备受关注。Spring boot在国内的关注趋势也日渐超过Spring。
特性
1.能够快速创建基于Spring的应用程序。(简化配置)
2.能够直接使用java的main方法启动内嵌的Tomcat,Jetty服务器运行Spring boot程序,不需要部署war包文件。
3.提供约定的starter POM来简化来简化Maven配置,让Maven配置变得简单。
4.根据项目的maven依赖配置,Spring boot自动配置Spring,SpringMVC等其它开源框架。
5.提供程序的健康检查等功能。(检查内部的运行状态等)
6.基本可以完全不使用xml配置文件,采用注解配置。(或者默认约定的配置,代码中已经实现)
二.入门程序(Hello World)
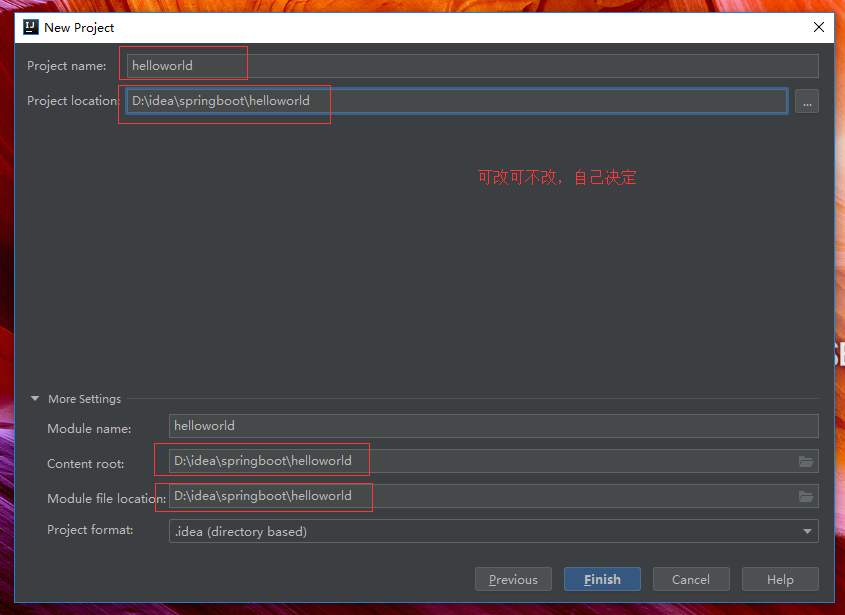
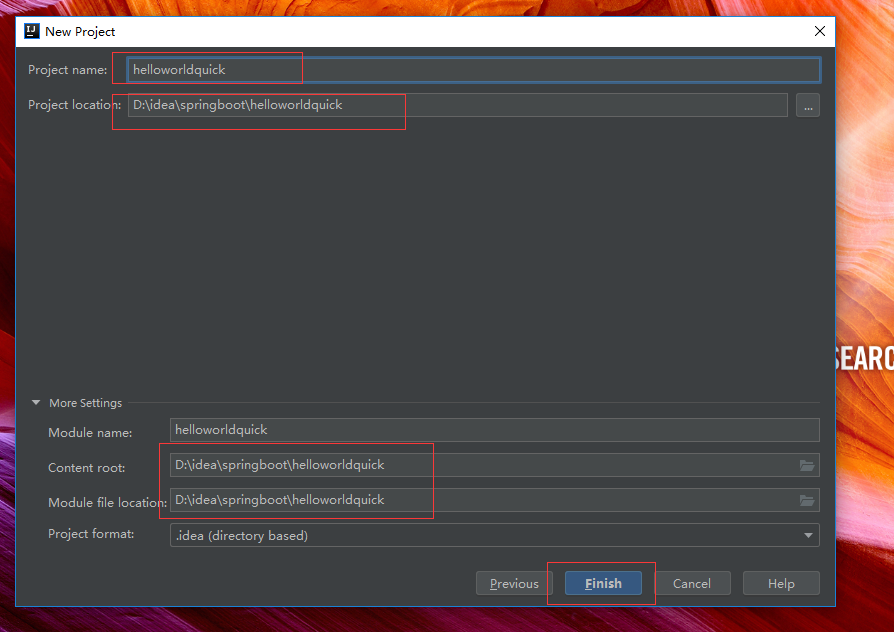
maven创建项目


导入Spring Boot相关依赖(pom.xml)
https://docs.spring.io/spring-boot/docs/2.0.8.RELEASE/reference/htmlsingle/#getting-started-maven-installation


 1 <?xml version="1.0" encoding="UTF-8"?>
 2 <project xmlns="http://maven.apache.org/POM/4.0.0" xmlns:xsi="http://www.w3.org/2001/XMLSchema-instance"
 3     xsi:schemaLocation="http://maven.apache.org/POM/4.0.0 http://maven.apache.org/xsd/maven-4.0.0.xsd">
 4     <modelVersion>4.0.0</modelVersion>
 5
 6     <groupId>com.example</groupId>
 7     <artifactId>myproject</artifactId>
 8     <version>0.0.1-SNAPSHOT</version>
 9
10     <!-- Inherit defaults from Spring Boot -->
11     <parent>
12         <groupId>org.springframework.boot</groupId>
13         <artifactId>spring-boot-starter-parent</artifactId>
14         <version>2.0.8.RELEASE</version>
15     </parent>
16
17     <!-- Add typical dependencies for a web application -->
18     <dependencies>
19         <dependency>
20             <groupId>org.springframework.boot</groupId>
21             <artifactId>spring-boot-starter-web</artifactId>
22         </dependency>
23     </dependencies>
24
25     <!-- Package as an executable jar -->
26     <build>
27         <plugins>
28             <plugin>
29                 <groupId>org.springframework.boot</groupId>
30                 <artifactId>spring-boot-maven-plugin</artifactId>
31             </plugin>
32         </plugins>
33     </build>
34
35 </project>
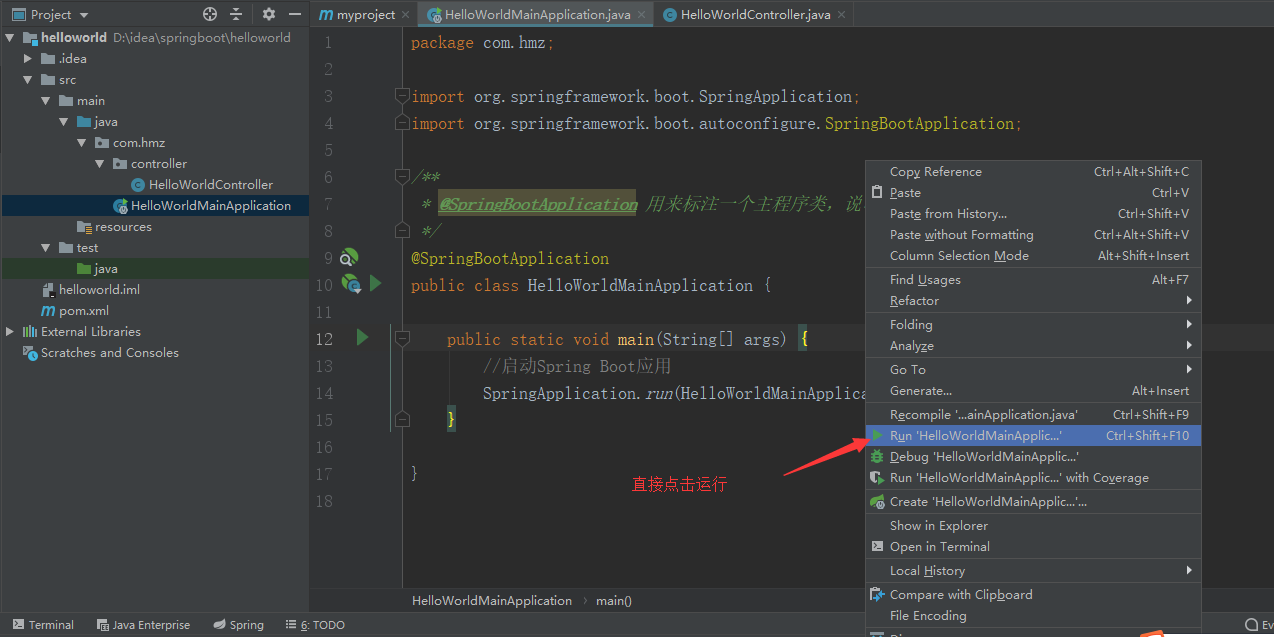
编写主程序,用来启动Spring Boot应用(HelloWorldMainApplication.java)
 1 package com.hmz;
 2
 3 import org.springframework.boot.SpringApplication;
 4 import org.springframework.boot.autoconfigure.SpringBootApplication;
 5
 6 /**
 7  * @SpringBootApplication 用来标注一个主程序类,说明这是一个Spring Boot应用
 8  */
 9 @SpringBootApplication
10 public class HelloWorldMainApplication {
11
12     public static void main(String[] args) {
13         //启动Spring Boot应用
14         SpringApplication.run(HelloWorldMainApplication.class, args);
15     }
16
17 }
编写相关的Controller(HelloWorldController.java)
 1 package com.hmz.controller;
 2
 3 import org.springframework.stereotype.Controller;
 4 import org.springframework.web.bind.annotation.RequestMapping;
 5 import org.springframework.web.bind.annotation.ResponseBody;
 6
 7 @Controller
 8 public class HelloWorldController {
 9
10     @RequestMapping("/hello")
11     @ResponseBody
12     public String sayHello() {
13         return "Hello World!";
14     }
15
16 }
运行主程序,进行测试


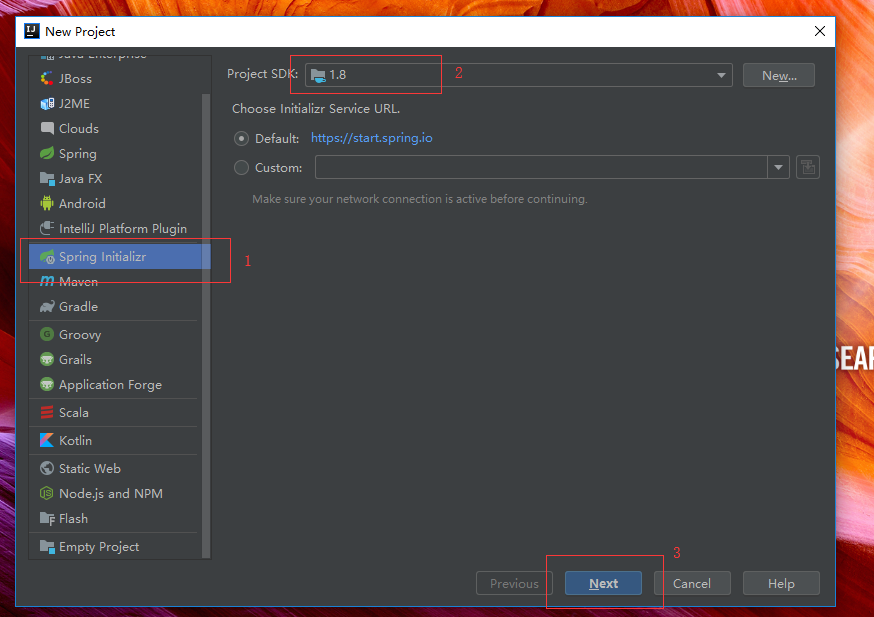
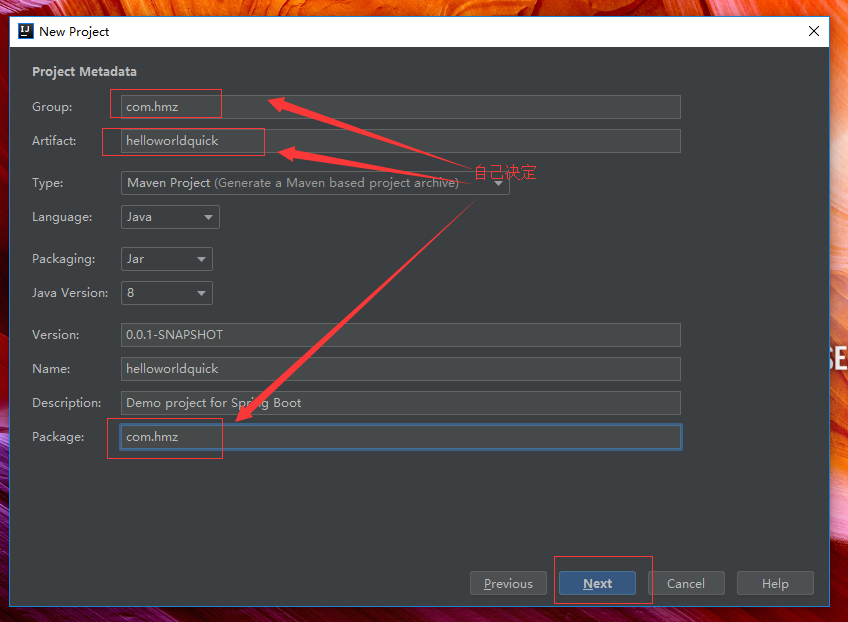
使用Spring Initializer快速创建Spring Boot项目


只需写一个Controller就可以了(HelloWorldController.java)
 1 package com.hmz.controller;
 2
 3 import org.springframework.stereotype.Controller;
 4 import org.springframework.web.bind.annotation.RequestMapping;
 5 import org.springframework.web.bind.annotation.ResponseBody;
 6
 7 @Controller
 8 public class HelloWorldController {
 9
10     @RequestMapping("/hello")
11     @ResponseBody
12     public String sayHello() {
13         return "Hello World!";
14     }
15
16 }
三.Hello World探究
pom.xml文件
导入父项目
1 <!-- Inherit defaults from Spring Boot -->
2     <parent>
3         <groupId>org.springframework.boot</groupId>
4         <artifactId>spring-boot-starter-parent</artifactId>
5         <version>2.0.8.RELEASE</version>
6     </parent>
启动器
1 <dependency>
2         <groupId>org.springframework.boot</groupId>
3         <artifactId>spring-boot-starter-web</artifactId>
4 </dependency>
spring-boot-starter:Spring Boot场景启动器
spring-boot-starter-web:帮我们导入web模块正常运行所依赖的组件
主程序类
 1 package com.hmz;
 2
 3 import org.springframework.boot.SpringApplication;
 4 import org.springframework.boot.autoconfigure.SpringBootApplication;
 5
 6 /**
 7  * @SpringBootApplication 用来标注一个主程序类,说明这是一个Spring Boot应用
 8  */
 9 @SpringBootApplication
10 public class HelloWorldMainApplication {
11
12     public static void main(String[] args) {
13         //启动Spring Boot应用
14         SpringApplication.run(HelloWorldMainApplication.class, args);
15     }
16
17 }
@SpringBootApplication:用来标注该类是Spring Boot的主配置类
 1 @Target({ElementType.TYPE})
 2 @Retention(RetentionPolicy.RUNTIME)
 3 @Documented
 4 @Inherited
 5 @SpringBootConfiguration
 6 @EnableAutoConfiguration
 7 @ComponentScan(
 8     excludeFilters = {@Filter(
 9     type = FilterType.CUSTOM,
10     classes = {TypeExcludeFilter.class}
11 ), @Filter(
12     type = FilterType.CUSTOM,
13     classes = {AutoConfigurationExcludeFilter.class}
14 )}
15 )
16 public @interface SpringBootApplication {
@SpringBootConfiguration:表示该类是Spring Boot的配置类
@EnableAutoConfiguration:开启自动配置功能
1 @Target({ElementType.TYPE})
2 @Retention(RetentionPolicy.RUNTIME)
3 @Documented
4 @Configuration
5 public @interface SpringBootConfiguration {
6 }
@Configuration:配置类
 1 @Target({ElementType.TYPE})
 2 @Retention(RetentionPolicy.RUNTIME)
 3 @Documented
 4 @Inherited
 5 @AutoConfigurationPackage
 6 @Import({AutoConfigurationImportSelector.class})
 7 public @interface EnableAutoConfiguration {
 8     String ENABLED_OVERRIDE_PROPERTY = "spring.boot.enableautoconfiguration";
 9
10     Class<?>[] exclude() default {};
11
12     String[] excludeName() default {};
13 }
@AutoConfigurationPackage:自动配置包
@Import({AutoConfigurationImportSelector.class}):向容器导入组件(会给容器导入非常多的自动配置类)
原文链接:https://www.cnblogs.com/HNewa/p/Spring_Boot_Hello_World.html
如有疑问请与原作者联系
标签:
版权申明:本站文章部分自网络,如有侵权,请联系:west999com@outlook.com
特别注意:本站所有转载文章言论不代表本站观点,本站所提供的摄影照片,插画,设计作品,如需使用,请与原作者联系,版权归原作者所有

上一篇:while死循环导致的内存溢出
下一篇:二分查找的变体问题
- Spring系列.ApplicationContext接口 2020-06-11
- springboot2配置JavaMelody与springMVC配置JavaMelody 2020-06-11
- 给你一份超详细 Spring Boot 知识清单 2020-06-11
- SpringBoot 2.3 整合最新版 ShardingJdbc + Druid + MyBatis 2020-06-11
- 掌握SpringBoot-2.3的容器探针:实战篇 2020-06-11
IDC资讯: 主机资讯 注册资讯 托管资讯 vps资讯 网站建设
网站运营: 建站经验 策划盈利 搜索优化 网站推广 免费资源
网络编程: Asp.Net编程 Asp编程 Php编程 Xml编程 Access Mssql Mysql 其它
服务器技术: Web服务器 Ftp服务器 Mail服务器 Dns服务器 安全防护
软件技巧: 其它软件 Word Excel Powerpoint Ghost Vista QQ空间 QQ FlashGet 迅雷
网页制作: FrontPages Dreamweaver Javascript css photoshop fireworks Flash
